Showing posts with label Fabric. Show all posts

Sunday, September 9, 2012

I am seeing dots on dots.......


     Welcome to the Dots on Dots blog hop.


If your here for the first time. Please hang out and look around some. Here at the Moon. There is quilting, sewing, cooking, baking and lots of loving!!!

The challenge of this hop was to make a quilt block with dots. I love dots!!! 

I knew just what I was going to do. I had been thinking about this block for a while. I had seen something like it before. But I could remember where..... and couldn't find a tutorial. 

Soooooo... I took a shot at it, my way. It is a pretty old school way to do it. But, I am going to share what I came up with. I hope you like it!!!

Here is the 12 inch block I made for the hop.
I call this block "Echo Star". 
I used Michael Miller's TaDot in three colors.


First, I drew it out on my beloved graph paper. 
I have every computer program imaginable for these sorts of things....... But, I always go back to a pencil and paper.
 After I thought I had figured it out.......
  
Away I went. Cutting and piecing.


It really doesn't look like its going to 
work at this point.................


But, Look it does!!!!! Isn't she pretty???


If you want to try one......... Here goes!


Old school...right :)               HST ( half square triangle) 

Cut and piece this.....


Star 1

1~ 2 inch square of print 3
4-~1 1/4 inch  Stripy HST's ( one triangle print 3, and the other triangle is  the solid with a print 2 strip ) 
2~1 1/4 HST's print 2 and print 3  
2~1 1/4 HST's solid and print 3
3~ 1 1/4 inch squares of solid 
1~ 1 1/4 inch square of print 2                                                                                   

Star 2

2~ 2 inch squares of solid
3~ 2 inch squares of print 2
1~ 2 inch square of print 1
2~ 2 inch HST's of print 1 and print 2
4~ 2 inch Stripy HST ( one triangle print 2, and the other triangle is a solid with a print 1 strip ) 

Star 3

3~ 3 /12 inch squares of solid
6~ 3 1/2 inch HST's of solid and print 1
3~ 3 1/2 inch squares of print 1


This is how I made the Stripy HST.
Sew 2 strips of a solid and a print.
Using a square or triangle ruler....Cut triangles lining up the seam in the middle of the triangle (slightly larger than you will need) Cut 2 with the solid on the right and 2 with the solid on the left. Sew the stripy triangle to a whole triangle to make the square you need. Square up to the correct size.
That will give you the 4 you need.


Lay Star 1 out first. The pieces are so small.
  It is on my 6 inch square ruler.


Then lay out Star 2 and 3


Then lay it all together. 


Sew together Star 1 ...Add Star 1 to Star 2. Sew Star 2 together . Then add Star 2 to Star 3 then finish up the block.  Square up and your done :)


What you do with your block is up to you. 
I made a Mini quilt for my desk.
 By adding some black around the block to suit me. 
And I straight line machine quilted it.
I used some more TaDot to bind it.

You see, my desk was a mess!!!!


I do everything at this desk. Work, Blog, Sew and all kinds of other things. I thought, if I made it pretty.....
I would be nicer to it. 
Hmmmmm we'll see.


Better huh?

I used some Wonder-Under and a scrap of dots 
to make my mouse pad pretty too.
I Just traced my mouse pad onto fabric. Ironed the Wonder-Under  to the fabric. Peeled the paper off the back and ironed fabric to the old ugly mousepad. 
Good as new. And pretty too!!

Another thing ....... I am a beverage-aholic.
 I always have something drink in my hand 
(It rarely has alcohol in it silly, I know what your thinking....).
Coffee in the morning. And a iced something in my mason jar for the rest of the day. Right now ,
I am hooked on Starbucks refreshers!!! Lime..Yummmmm

I do love my Mason Jar. But, it does sweat. And it is often on something important. Leaving water rings everywhere. 
So, I made a cozy for my jar!! 
And, a coaster for when my jar is really having a sweat.


What do you think ????

My daughter Brie thought I needed some better pictures, since my office is kinda dark.... I think she just wanted to play outside. So, we went outside and shot these.


My Mason Jar loves the outside......


So did my lil' quilt......


And Brie.... likes the outside very much. 

I hope you all enjoyed my Dots on Dots blog hop post!!!
Please visit the other bloggers in the hop!! 
Here are the bloggers hopping today!!!


September 10th
Blueberry Moon ( you are here)


Get the list of Bloggers and the schedule by clicking the badge below.


P.S. If you make one of these blocks, 
I would LOVE to see a picture!!!

Post on my Flickr group Quilt Love
Or Instagram me @myblueberrymoon
Or even email  keithena@theblueberrymoon.com


Pin It

Tuesday, August 14, 2012

I am" Breaking Dishes" around here............


Okay, not real dishes......
I have been making these blocks. Traditionally called "Broken Dishes". 
What do you think?? 
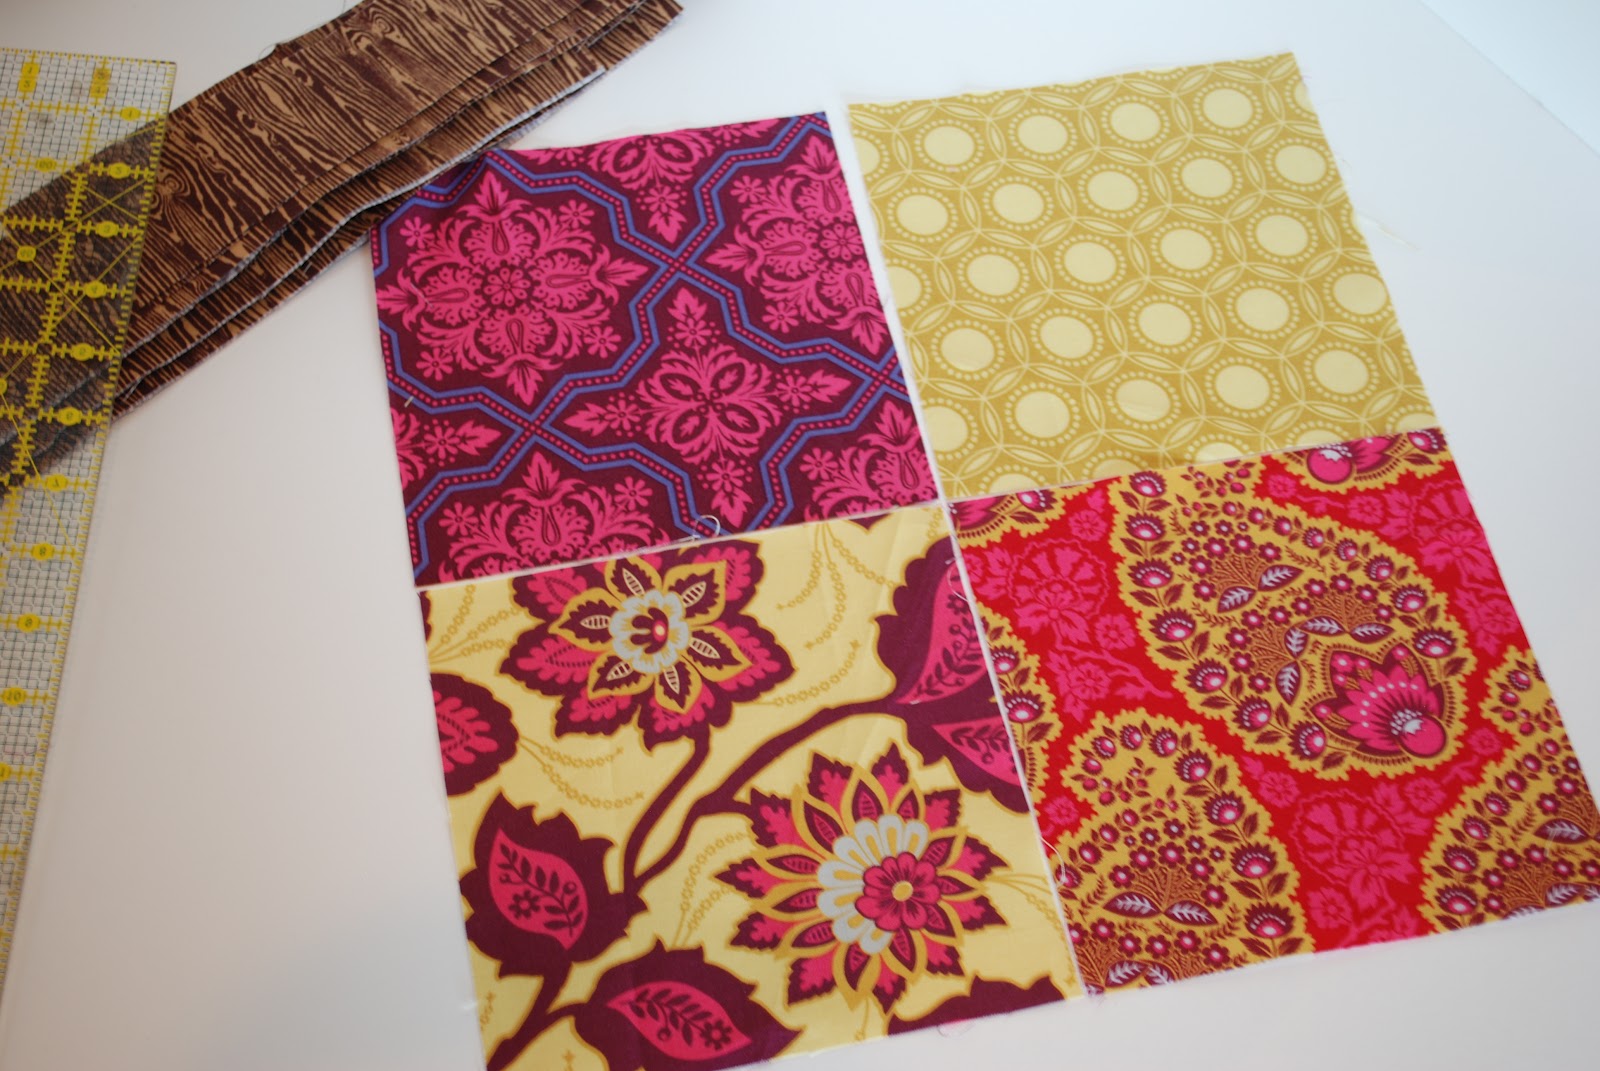
The Fabrics are from Joel Dewberry's "Heirloom" .
 I am framing each block in his "Woodgrain".
I am using these babies in bed quilt just for me...{sigh}
 A dream come true.....one for me:)
I knew I would have to choose something fast and simple...........Nobody will ever let Mom do something for herself .........for long anyway.
Can anyone relate?
Here is a quick tutorial on these super easy blocks. This would make a great beginner block!!

Each block uses four fabrics. Cut in Squares. I cut 7 inches.......I wanted a big block. Finished it will be 12 inches.
My border/frame is 2 inches........
So, when all is done.... the framed block is 15".


To begin we will make half square triangles.
Pair up two squares, put them right sides together. Repeat with the other two.


 Draw lines from corner to corner. Use a dark pen so you can really see the line. It will be used as a guide to sew and then cut.


Stich a 1/4 inch from the line... on one side. Turn your block and do the same on the other side of the line. That should leave your pen line with two stitched lines, one on each side. Now do the same with other squares......


Now cut down the pen line. Easy Peasy. Repeat with remaining squares.

  
Open each square and press flat. Trim each one to 6 1/2 inches squared up. This is what you should have.


Arrange Like so........... 
Then stitch squares together to make the block. I sew the top two together , then the bottom two. Match center seams and then sew top to bottom. Just like that...Broken Dishes.


 This one is sewn in a slightly different combo of fabrics.


Here is one with the border/frame.

 I'll be sewing twelve in all...........

To be continued.........

Ooh Ooh .....I am linking here.


Fresh Poppy Design
Pin It

Sunday, August 5, 2012

London Called......It was for Brontë.


Remember When I said London was calling?
Well look....It did. And it was for Brontë.
Quilt and pillow ..... Jolly good I'd say.   


    WARNING!!
        Here comes the quilt story....It's a bit long winded.

     When I was 19 I read "Wuthering Heights". Oh, I loved that book! I read it over the summer of 1986. It was a challenge for me. I love to be challenged. It remains as my all time favorite reads. The author of that great tale, Emily Brontë, I found fascinating also. I remember telling myself at the time. If I ever have a daughter. I will name her Brontë. 

     Eight years and two sons later, I did. And she, like the book, has been challenging. In the very best way possible. I have learned so much about who I am by raising her. She is fascinating, complicated, silly, kind, smart, thoughtful, creative, strong-willed and beautiful.

     On tuesday she begins her senior year of high school. She has plans to attend college. She is thinking photo journalism. I am thinking..... I never want her to leave !!!

      Senior years are so tough these days. The stress can be overwhelming for these kids. I have watched some of my son's friends get crushed under the pressure. And some achieve amazing things. I know what lies ahead for her. And it is a lot. The best and most challenging of times. As a mom I can only comfort her. The work and results are all up to her.

      So comfort her I will...
 With this pillow.
                               
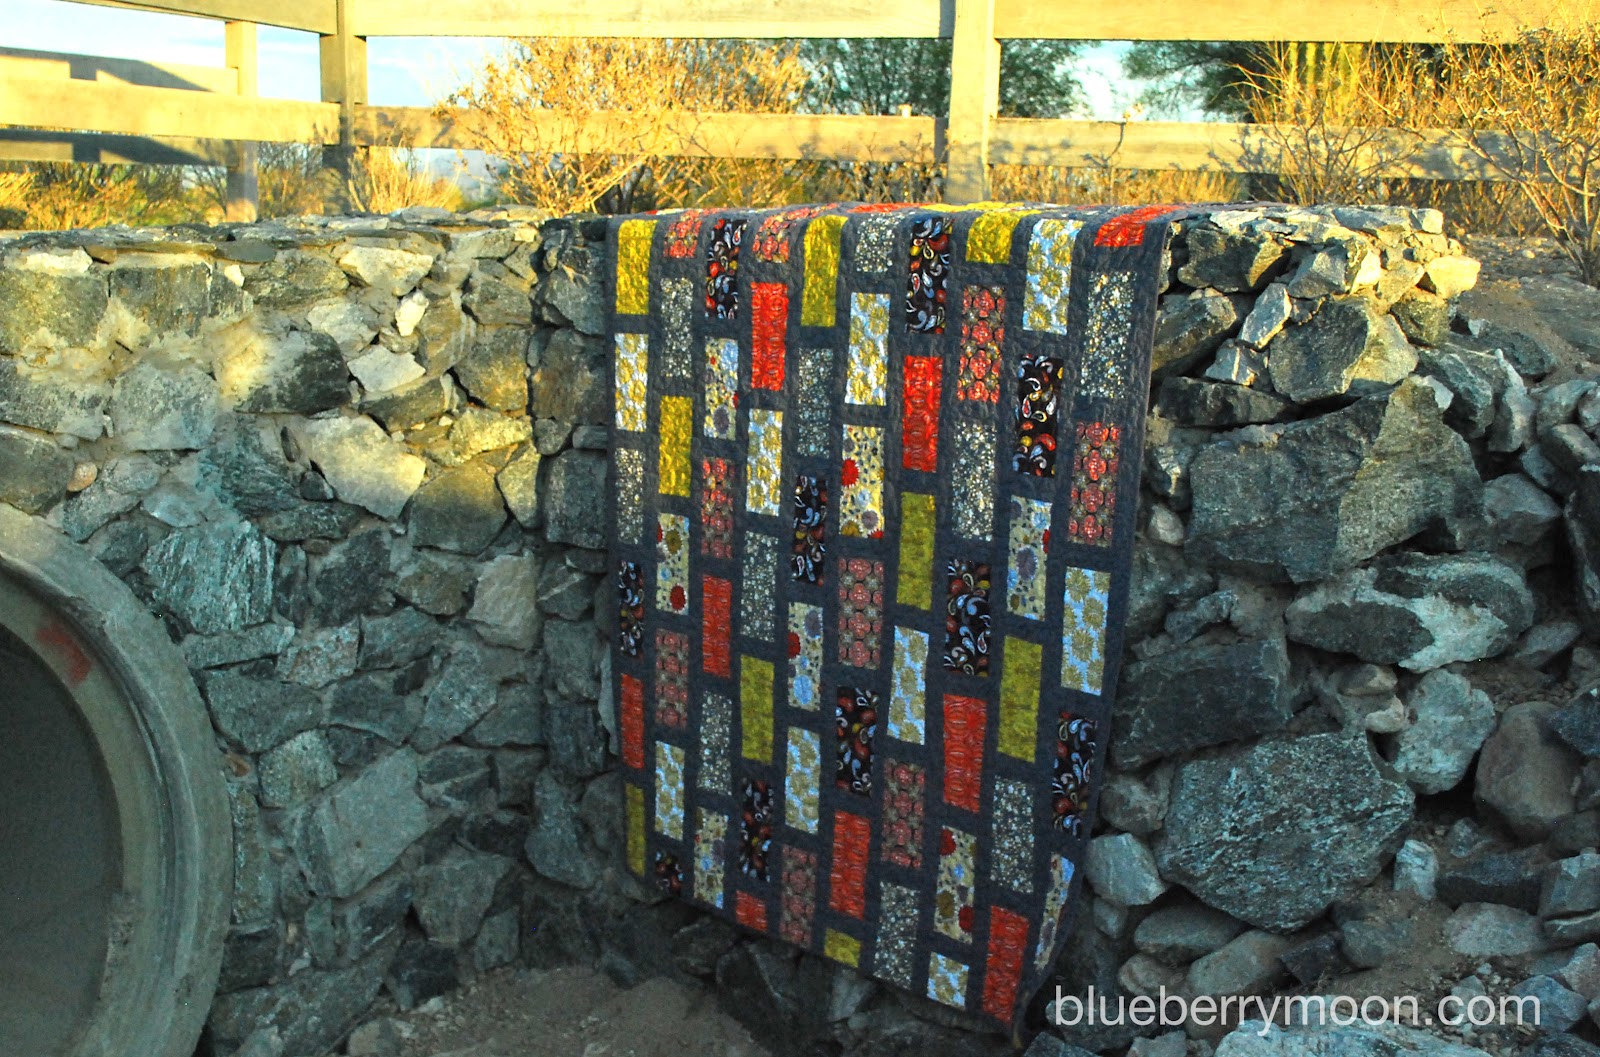
 And this quilt.


    This idea came to me a while back.I was going to wait until graduation. 
But for all the reasons I will give. The time was now....

        I know in the days ahead, 
She will come home angry at something some dumb girl said....
"The Boy" will bruise her heart....
The testing will melt her brain....
The teacher just won't understand....

There are sure to be,
Rejection letters......
Failed awards....
Grades that didn't come out as planned......
Plans that seem like they will never succeed.....

But then again there will be,
Great test scores....
Amazing teachers....
Homecoming ........
The Prom .....
The acceptance letter...
Graduation celebrations....
The acceptance letter....
Saying goodbye to friends.....

For each of these moments in time. She can run home and  cuddle up with these gifts of love. She can cry tears of anger, happiness or fear. Scream into the pillow. Hide under the quilt.
But she will know she has a Mom that loves here......
And the goal is to just......
Keep Calm and Graduate on !!!!

More pics....


 If any of you out there have a Senior in your life...... I think this makes a great gift idea. 

UPDATE: Soon I will have the PDF template for the the letters and cap. Also included will be cutting and finishing instructions.  So keep a look out.......

Until then have some fun,
Make your own " Keep Calm" poster at

Pin It

Monday, July 23, 2012

I Took My Quilt for a Walk.......


I would have to say...........She is a bit of a ham!!   
She insisted I shoot her from every angle. 
And that I show off her color and scrumptious texture.She knows it's the texture that really gets us all to snuggle up to her. She even got a little naughty and showed off her backside. Scandalous .............
Just the way I like it. Pin It

Tuesday, June 12, 2012

Sneak Peek.......
I am working on a new project.............finally!! I have had the worst time getting into the swing of things since the move. Two years ago!! I just don't have the best creative space here. But in the spirit of "Bloom where you are planted" I am feeling the bug again. Sometimes it is best just to do it...right??


These little beauties are going into a sleepover set for my girly. I think little girls and polka dots are a match made in Heaven!!!

Pin It

Saturday, March 6, 2010

Without Further Ado........

The Giveaway

Here it is finally .... After all the sad going on this week . I am so happy to celebrate something. My readers!!!
Thanks to all you guys that read and comment. To say a big THANK YOU!!
Here is the humble giveaway.

 
I hope you like Heather Bailey.
There are 9 pieces of Heather's Pop Garden.
1 piece of Amy Butler Full Moon Polka dot.
And one awesome piece of very vintage red dot fabric from my vintage stash.
Most measure about a fat quarter in size. 2 are more like fat 1/6 th.
and a couple larger. All and all more than 2  yards of fun fabric.


All you have to do to enter is leave a comment on what your sewing for spring.
If you would like another entry ...follow my blog .If your already a follower tell me in your comment.
You can also post this on your blog, with a link back for another entry.
Just make sure I know about so you get your entry.
Total of 3 chances.
I have to keep this to U.S. only because I know nothing about shipping anywhere else..sorry.
I will keep this contest open until Wednesday night.
And Announce on Thursday.
Good Luck!!
I can't wait to read what your sewing for spring.
Update...comments are closed ...the winner is Courtney!!

Pin It