Showing posts with label tutorial. Show all posts

Tuesday, August 14, 2012

I am" Breaking Dishes" around here............


Okay, not real dishes......
I have been making these blocks. Traditionally called "Broken Dishes". 
What do you think?? 
The Fabrics are from Joel Dewberry's "Heirloom" .
 I am framing each block in his "Woodgrain".
I am using these babies in bed quilt just for me...{sigh}
 A dream come true.....one for me:)
I knew I would have to choose something fast and simple...........Nobody will ever let Mom do something for herself .........for long anyway.
Can anyone relate?
Here is a quick tutorial on these super easy blocks. This would make a great beginner block!!

Each block uses four fabrics. Cut in Squares. I cut 7 inches.......I wanted a big block. Finished it will be 12 inches.
My border/frame is 2 inches........
So, when all is done.... the framed block is 15".
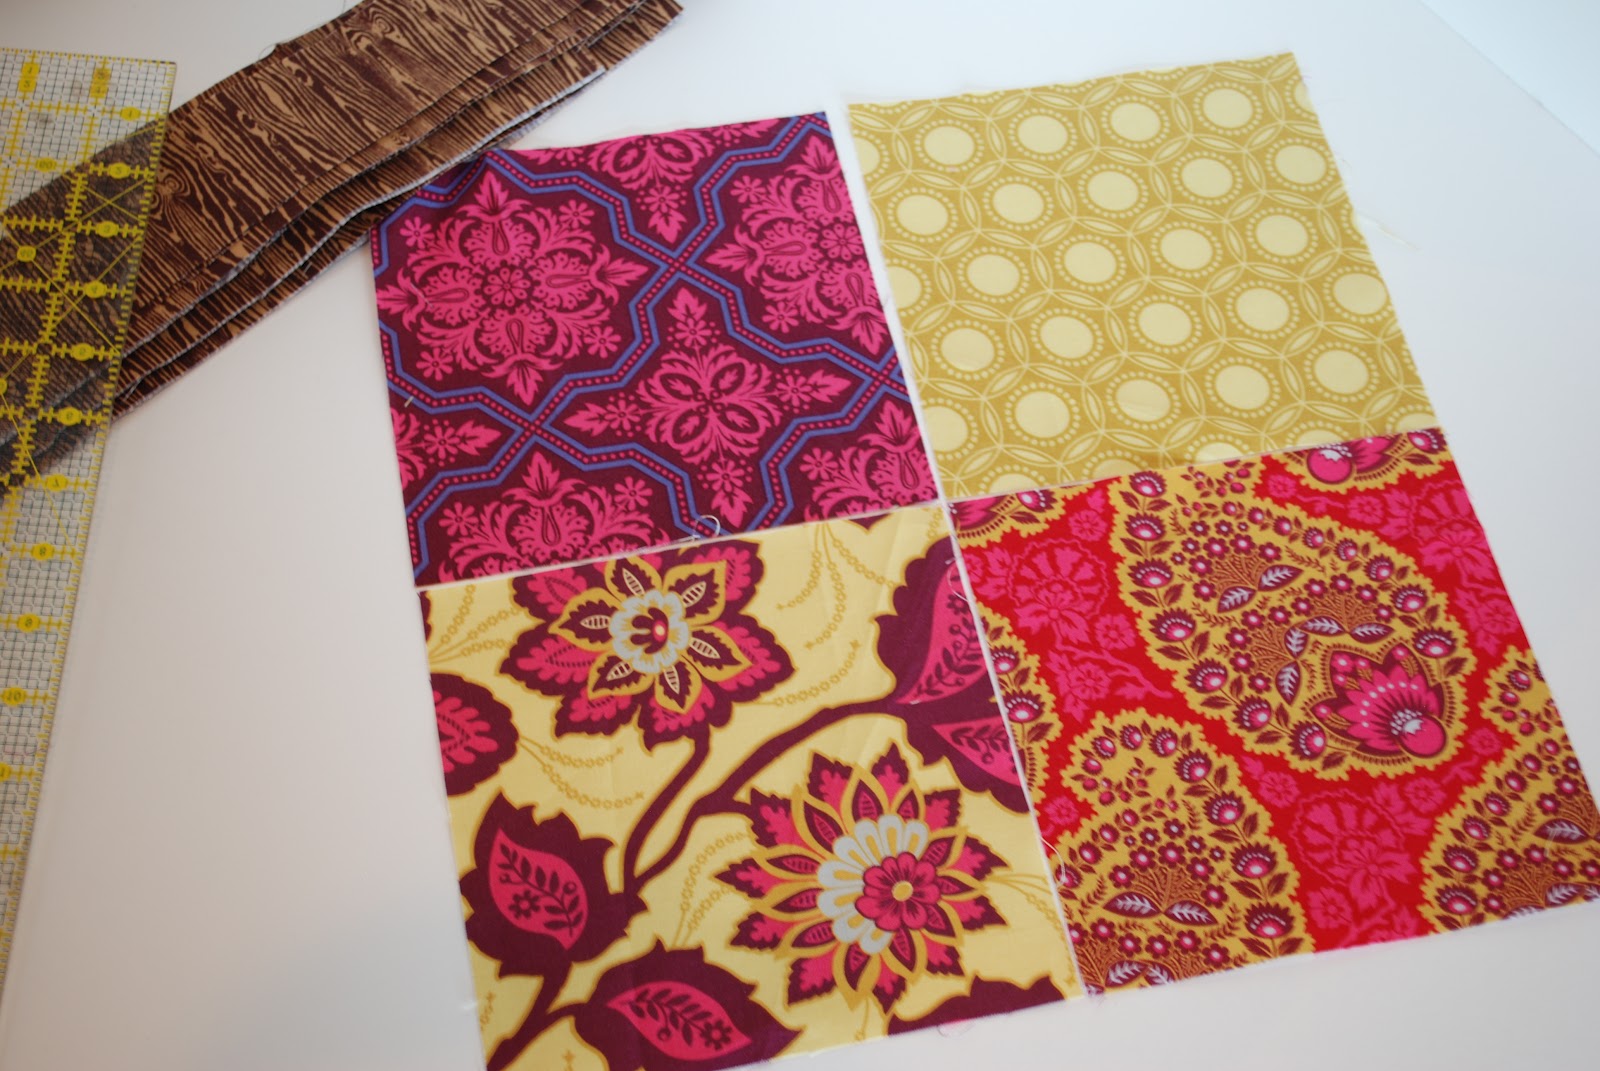

To begin we will make half square triangles.
Pair up two squares, put them right sides together. Repeat with the other two.


 Draw lines from corner to corner. Use a dark pen so you can really see the line. It will be used as a guide to sew and then cut.


Stich a 1/4 inch from the line... on one side. Turn your block and do the same on the other side of the line. That should leave your pen line with two stitched lines, one on each side. Now do the same with other squares......


Now cut down the pen line. Easy Peasy. Repeat with remaining squares.

  
Open each square and press flat. Trim each one to 6 1/2 inches squared up. This is what you should have.


Arrange Like so........... 
Then stitch squares together to make the block. I sew the top two together , then the bottom two. Match center seams and then sew top to bottom. Just like that...Broken Dishes.


 This one is sewn in a slightly different combo of fabrics.


Here is one with the border/frame.

 I'll be sewing twelve in all...........

To be continued.........

Ooh Ooh .....I am linking here.


Fresh Poppy Design
Pin It

Friday, August 10, 2012

Time to Pony Up......


Back to school means back to doing 3 heads of hair every morning. 
I am not complaining .....At least the Big 3 do their own.
 It was 113 degrees here yesterday. Oh so hot!! 
So, If they don't leave with a pony tail in their hair.......they come home with one for sure.

These are our favorite pony tail ties.
They never break hair. They are really pretty. They work for all ages. And they look really cute when you use several colors.
The girls leave for school with them as bracelets. And come home with them in there hair. So cute!! They are very cheap to make. That way I don't have a cow when they don't come home. My girls loose a lot of hair stuff.........
They also make great gifts for their girlie friends.

Here is how I do it.


Get yourself some "Fold over Elastic". I buy mine from Etsy . (I'll post some sellers below) Scissors, ruler and a lighter or candle.

Cut pieces:

  9 inches for pony holders
20 inches for kid's headbands
22 inches for adult headbands.

     
1. Fold elastic in half
2. Tie in a knot at the end
3. Pull tight
4. Cut ends at a slight angle with very sharp scissors


This is what you should have.


Flare ends slightly like this . Then carefully run ends through a flame quickly. I use a lighter, but a candle will work.( Can't do it and take pic at the same time....sorry) 
This will seal the ends and keep it from fraying.


I made pony ties.


And headbands.


Made a ton!!


I put some on cards for gifts. Next time I think I will use paint chip cards :)

Places I've seen these sold......For way to much.
Here, Here and Here.

Places to buy supplies......For cheap.
Here, Here and Here.

Hope you make some !!!
Happy Hair Dos ....


Pin It

Thursday, August 9, 2012

Shoe Redo.............


It is Back to school time!!!! I am just plain giddy!! 
I love my kids, but I need some ME time.

Every year the kids and I have the same routine. Clean out the closets.
Sort things like this........
If it fits...keep It.
If it is too small ....pass it down to the next kid in line.
If it is torn..... mend it. 
If it can be refurbished....do it. 
If you don't love it..... Donate it. 

After that job is done. Then the shopping begins.With a BUDGET....... You would be surprised how they would rather have refurbished shoes.......Then they can spend there cash on fun new jeans, tops and accessories. 

This year while refurbishing the shoes........ I had a genius idea !! Instead of buying new shoe strings for the "Chucks".  MAKE SLIP-ONS !!!! 
Their shoes never stay tied anyway. Am I right??

The girls LOVE them!! They are super easy to slip on, look good as new and best of all they didn't have to spend the cash. New Converse All Star Chuck Taylor's are a whopping $40 now.


Let me show you how to do it.
First clean up your old shoes. ( I'll give great tips at the end of this post )

Grab 2 pieces of 1/4 inch elastic. Each 36 inches long for kids. 45 inches for adult.( Yes, the Men love slip-ons too)

And away we go............


Using the elastic. Lace up your shoes like you would with strings. Until you get to the last grommet ....


Go through the top and pull the elastic behind the tongue of the shoe. On the back of the tongue...... line up the elastic on the bottom of the label sewing stitches and pin.


Try to get it as straight as you can. We will be trying to hide our stitching in the shoes label.


This part is a bit tricky. Wrestling that shoe tongue under the foot of the sewing machine. But one you have it lined up. Put the presser foot down and sew. I made two lines of stitching here.


See the stitches? Kinda hidden......


There you have it....Slip-ons. They look shiny and new. But they also have that cool worn quality.
Can you believe those Blue ones are 2 years old and the red ones are on there 3rd owner and are almost 4 years old??? Breven wore them almost everyday last year. Now Bridgitt gets them , and she says they are super comfy ...and no strings to trip her up. She is 7.


One Chuck , Two Chuck, Red Chuck, Blue Chuck.............


A Few Words About Cleaning..........


Your going to need some stain remover spray, some oxygen cleaning powder and a Magic Eraser. These are the products I used. The bathroom Magic Eraser isn't needed. Regular will do. It is just what I had ...... If you have a cleaning brush it will help scrub them up.


This is how I do it.
Take out the shoe strings and disgard. Spray down well with stain remover and let sit overnight.
Then fill your sink up with hot water and a couple scoops of oxygen powder. Soak shoes for an hour or so. Then scrub up the fabric of the shoes with a brush and clean all the rubber and soles with the magic eraser. It is amazing how much I got off with the magic eraser. My oldest daughter had even written on her's with markers...........
After they look good and clean. Toss them in the washer on rinse and spin. That should get all the soap out. Then dry under the sun outside. 

Here is one before and after. I wish I had taken more pics of the really filthy ones. These weren't that dirty. But you get the idea........


So there you have it......
Have fun redoing the shoes. Pin It

Friday, July 20, 2012

American Girl Doll got Shorts....

                     Shorts and a off the shoulder top !!!


I used a "Nakey Baby " Peasant top pattern from this post. 

And a Free pants pattern from Milo Mila.

The shirt was a little tricky but the shorts took 10 min. 
Little Miss loves her dolls new outfit!!!

Here goes a quick tutorial.


Cut front and back pieces from the peasant top pattern. You will only need to cut 1 sleeve. I cut the front and back one inch longer for the AG doll.


Sew on the 1 sleeve. (Directions in the Nakey Baby Post.) Then slice a line from both front and back like shown. I just eyeballed it. Then sew the side seam under the sleeve.

  I cut a 1 1/2 inch wide piece of fabric long enough to wrap the entine neck line. Ruffled it a little.
then hemed it .

..........with a itty bitty hem.


Here is where it got tricky.... I sewed the ruffle on the neck line.Right side of ruffle to wrong side of neck line. Sorry, I don't have a pic of these steps....I was busy cursing a little. Anyway,
you turn the ruffle to the front and iron. Once that is done, sew a casing 1/4 inch from the neckline. Insert elastic and tighten up until it looks like it will fit the doll your working with. Then sew up the other side seam. That will also secure your elastic. Hem your top and your done.

                                                              Now for the shorts. 

I had some jean pant legs lying around from making cut offs for summer.
I though they would make great doll shorts.


One seasons pants. Make the next seasons shorts......and shorts for the doll :)

Download and print the pants pattern.
Cut both pant legs open leaving the best looking (usually the outer) seam in the center.
Lay wrong sides together.


Lay the pattern on the old pant legs like shown.
Using the hem of the pant legs for the hem of the doll shorts. Nice short cut right? Pardon the pun.
Follow sewing instructions for the doll pans. And there you have it.......10 minute doll shorts.


So there you have it ...a quickie AG dolly outfit.

Now on to a matching top for the owner of this dolly.


Pin It

Thursday, July 19, 2012

Fluffs for Faces...........


   Got Scraps? Maybe a random charm pack lying around?

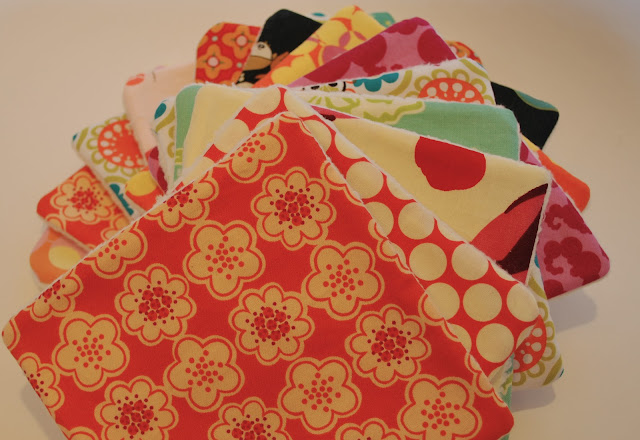
Great, Here is a plan. Face Fluffs!!
What is a Face Fluff you ask? Well it is a alternative to that harsh wash cloth you wash your face with. With all the sensitive teen and preteen complexions we have around here they are a perfect fit!!
They are so soft and scrumptious ......we will never go back to the old wash cloth.

What to make some?

First you are going to need some fabric scraps. I cut 6 inch squares. But 5 inch charms will work also.
Then you will need some cotton batting ....like Warm and Natural. Again, cut in squares, the size of your fabric. Here is the only special fabric you will need. cotton knit sherpa. I have a few yards lying around from my diaper making days. (Finally found a great reason to use it up). You can buy it at Nature's fabric , DiaperFab  , Diaper Cuts  and there is always listings on Ebay and Etsy.
I love sherpa!!! It is sooooooo soft!!
You can also use soft cotton interlock or stretch terry. I used it before, it is not as soft....But still works well. The knit is important because it stretches in the wash and releases stains and dirt better than woven. Whatever you use....cut it in squares also.

Okay, Everything cut in squares???
Let's go......


You are going to lay down a layer of batting, then a square of sherpa/interlock soft side up. Then your pretty fabric , pretty side facing down toward the fluffy side of your sherpa/interlock.
Very Important. Sandwich your knit between the woven and the batting!!! 
That way it won't get stretched out of shape while you sew.

Sew a seam all around the edge. Leaving an 1 1/2 inches un-sewn for turning inside out. Make sure you turn just between the woven and the knit. Leaving the batting in the middle.


Sew up a bunch ...because you will love them :)


You can sew all around the edge to close the opening and finish the square. On some I did this.....and on others I just sewed the hole shut. I think by just closing the hole makes it looks puffier.....I think it's a preference.


I sewed a little detail on each of fabrics to make it quilty soft and pretty.
This also keeps the batting from shifting in the wash. You can sew just an x or straight lines.


Here is one done by just closing the opening. A little puffier look.


Doesn't that Sherpa look scrumptious ??


All the pretties..........


This is a basket full of Fluffs!! 

 I am putting this one by the girls sink. Enough for a whole week of  super soft skin cleansing. I also am hanging a lingerie/laundry bag on the doorknob of their bathroom.They can just toss in the dirties. So, on laundry day I can grab the bag. Toss it in the sink, give it a soak. A little vinegar in the soak will get rid of any icky. Then in the wash.
I don't even have to fold them...Just stack and stuff in the basket.

Notes:

If you want to  use little scraps and get really creative.... you could make little 6 inch quilt blocks , string blocks would be cute.
I think a stack of these for a preteen girlie would be a nice gift. With a drawstring bag and a bottle of gentle face wash. She would be getting a great gift that will promote good daily habits...... And they are Pretty!!! 
They also make excellent baby wash clothes. Teacher gift??? I can think of a hundred ways to gift them. 

Don't want to sew some.....
That's okay. I will list some on my Etsy Shop for ya !!! 
If they are not listed shoot me a email. I sew to please :)


Pin It