Showing posts with label patchwork. Show all posts

Sunday, September 9, 2012

I am seeing dots on dots.......


     Welcome to the Dots on Dots blog hop.


If your here for the first time. Please hang out and look around some. Here at the Moon. There is quilting, sewing, cooking, baking and lots of loving!!!

The challenge of this hop was to make a quilt block with dots. I love dots!!! 

I knew just what I was going to do. I had been thinking about this block for a while. I had seen something like it before. But I could remember where..... and couldn't find a tutorial. 

Soooooo... I took a shot at it, my way. It is a pretty old school way to do it. But, I am going to share what I came up with. I hope you like it!!!

Here is the 12 inch block I made for the hop.
I call this block "Echo Star". 
I used Michael Miller's TaDot in three colors.


First, I drew it out on my beloved graph paper. 
I have every computer program imaginable for these sorts of things....... But, I always go back to a pencil and paper.
 After I thought I had figured it out.......
  
Away I went. Cutting and piecing.


It really doesn't look like its going to 
work at this point.................


But, Look it does!!!!! Isn't she pretty???


If you want to try one......... Here goes!


Old school...right :)               HST ( half square triangle) 

Cut and piece this.....


Star 1

1~ 2 inch square of print 3
4-~1 1/4 inch  Stripy HST's ( one triangle print 3, and the other triangle is  the solid with a print 2 strip ) 
2~1 1/4 HST's print 2 and print 3  
2~1 1/4 HST's solid and print 3
3~ 1 1/4 inch squares of solid 
1~ 1 1/4 inch square of print 2                                                                                   

Star 2

2~ 2 inch squares of solid
3~ 2 inch squares of print 2
1~ 2 inch square of print 1
2~ 2 inch HST's of print 1 and print 2
4~ 2 inch Stripy HST ( one triangle print 2, and the other triangle is a solid with a print 1 strip ) 

Star 3

3~ 3 /12 inch squares of solid
6~ 3 1/2 inch HST's of solid and print 1
3~ 3 1/2 inch squares of print 1


This is how I made the Stripy HST.
Sew 2 strips of a solid and a print.
Using a square or triangle ruler....Cut triangles lining up the seam in the middle of the triangle (slightly larger than you will need) Cut 2 with the solid on the right and 2 with the solid on the left. Sew the stripy triangle to a whole triangle to make the square you need. Square up to the correct size.
That will give you the 4 you need.


Lay Star 1 out first. The pieces are so small.
  It is on my 6 inch square ruler.


Then lay out Star 2 and 3


Then lay it all together. 


Sew together Star 1 ...Add Star 1 to Star 2. Sew Star 2 together . Then add Star 2 to Star 3 then finish up the block.  Square up and your done :)


What you do with your block is up to you. 
I made a Mini quilt for my desk.
 By adding some black around the block to suit me. 
And I straight line machine quilted it.
I used some more TaDot to bind it.

You see, my desk was a mess!!!!


I do everything at this desk. Work, Blog, Sew and all kinds of other things. I thought, if I made it pretty.....
I would be nicer to it. 
Hmmmmm we'll see.


Better huh?

I used some Wonder-Under and a scrap of dots 
to make my mouse pad pretty too.
I Just traced my mouse pad onto fabric. Ironed the Wonder-Under  to the fabric. Peeled the paper off the back and ironed fabric to the old ugly mousepad. 
Good as new. And pretty too!!

Another thing ....... I am a beverage-aholic.
 I always have something drink in my hand 
(It rarely has alcohol in it silly, I know what your thinking....).
Coffee in the morning. And a iced something in my mason jar for the rest of the day. Right now ,
I am hooked on Starbucks refreshers!!! Lime..Yummmmm

I do love my Mason Jar. But, it does sweat. And it is often on something important. Leaving water rings everywhere. 
So, I made a cozy for my jar!! 
And, a coaster for when my jar is really having a sweat.


What do you think ????

My daughter Brie thought I needed some better pictures, since my office is kinda dark.... I think she just wanted to play outside. So, we went outside and shot these.


My Mason Jar loves the outside......


So did my lil' quilt......


And Brie.... likes the outside very much. 

I hope you all enjoyed my Dots on Dots blog hop post!!!
Please visit the other bloggers in the hop!! 
Here are the bloggers hopping today!!!


September 10th
Blueberry Moon ( you are here)


Get the list of Bloggers and the schedule by clicking the badge below.


P.S. If you make one of these blocks, 
I would LOVE to see a picture!!!

Post on my Flickr group Quilt Love
Or Instagram me @myblueberrymoon
Or even email  keithena@theblueberrymoon.com


Pin It

Tuesday, August 21, 2012

My Long weekend......In instagrams

I hope everyone had a wonderful weekend. Mine was busy and lasted through Monday. 

I tried to relax, and shake off a cold that has been going around the house. 
But, no matter how hard a tried.....It got me. 
Because we collectively have been feeling bit funky...........Some comfort food was in order.
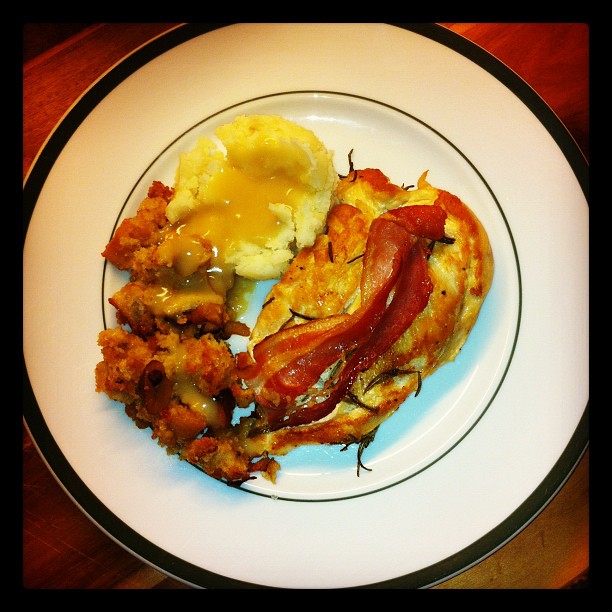
I made our favorite chicken breasts,.
This is the easiest dinner. It is so very tasty.


And Yes, That is Bacon!!!

You don't need a lot to make this. 
Chicken Breasts
Bacon
Rosemary
Olive oil
salt&pepper.

Pound out your chicken a little. Just enough so that all the breasts are the same thickness.
Toss them in some olive oil salt and pepper and a few sprigs of rosemary. Let sit for a few minutes to marinate.
Place your chicken is a very hot fry pan. Medium high flame hot.....searing hot!!!
Turn when the side are white, opaque and the bottoms are golden brown. Do the same on the other side. This should only take a couple minutes on each side. If your pan is searing hot.

(at this point I pour myself a glass of wine. Torrontés is a perfect pairing! )


Place that pretty chicken on a baking sheet. lay a piece of bacon on each breast. Put baking sheet in a 425 degree oven.  Bake until the bacon is slightly crispy and the chick is done. About 15 minutes.

I made a sourdough dressing and some potatoes to go with. Delish!!!


Served.

Next on the weekend agenda.........My Beautiful daughter Brene's 14th Birthday. I can't believe how time flies.
Each one of my girls are true individuals. But, My Brene' is wonderfully unique. She is artsy and quiet. You can't help but smile when she walks in a room. She is funny and quirky. Has friends that mean a great deal to her. She has a true heart with no drama. I love this kid!!!!!!


Her Birthday pancakes for breakfast.


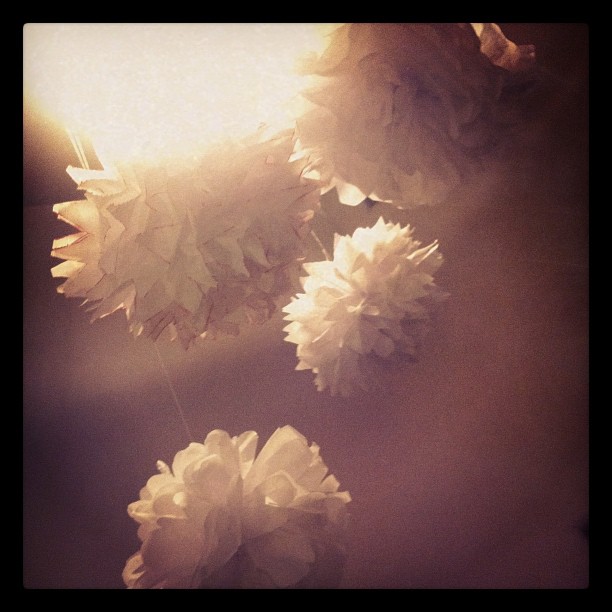
Brontë made tissue flowers and hung them for her little sis.


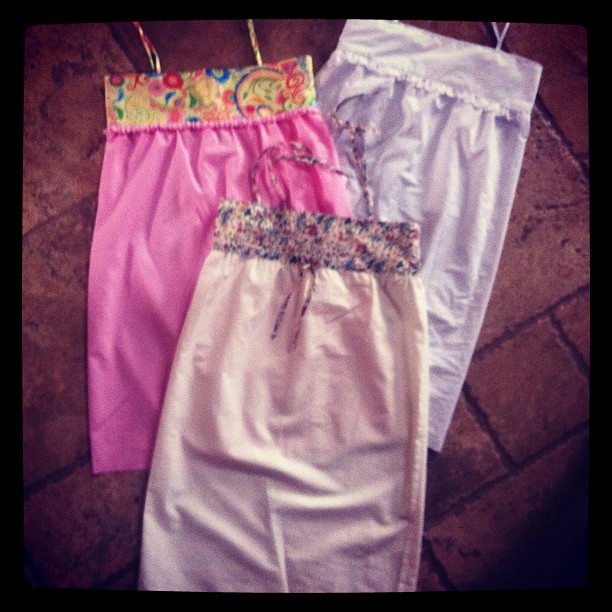
        I sewed her up these sweet nighties.


Added some lovely details to these cuties.
Found tutorial for these at Sew,Mama,Sew!


Her Birthday Sandwich....Her request.


 Finished it off with a oreo cake baked by Brooke.
It was such a sweet day for my sweet girl.


I got a little sewing of my own done.


On Monday......12 finished blocks. Yippeeeeeee!!!

I hope you liked the weekend journaled in instagrams.
Please follow me here.
Or  @myblueberrymoon

I promise I will follow you back :)
Have a great week peeps!!!!
Pin It

Monday, July 23, 2012

The Beginning .........


Pin It

Wednesday, July 11, 2012

Snappy Sleepover Set...


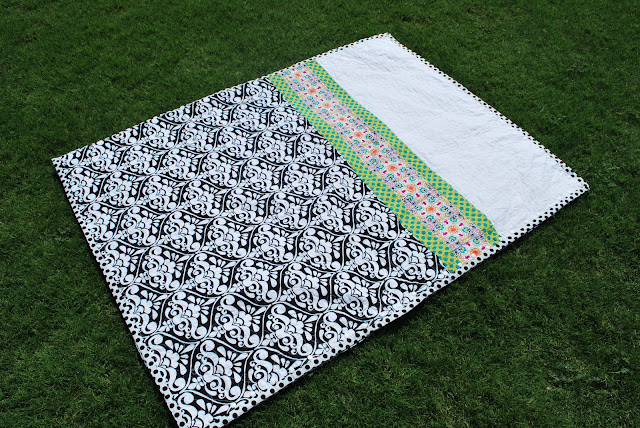
Wow! I finally finished the girlies Sleepover quilts. I am so excited!! They have actually been finished for a while. But, getting the girls to go out in this hideous heat and take a few photos......well it  took a while. It has been hot in the hood people. 117 today. Ouch, can you feel the burn? Getting outside and getting wrapped up in a quilt. HAHAHAHAHA I am surprised I got any shots at all. 

 Quilt Bag Fronts.....


Quilt Bag Backs...........


Matching Personalized Pillows.........


How We Roll.......


Inside of the Bag.......


What Makes it Snappy.......


You have to squint and look really hard on this one...
I used KAM plastic snaps all around the bottom and sides to 
make "the bag". They are white also.  
The next shot is an extreme close-up. Sad and blurry it is.....
Can you see the snaps?


Girlies in the Bag.......


Girlies exiting fast....... Because it's HOT!!


Shameless Photos of Cuteness.......


A Few Last Thoughts......

This was a pretty easy project. I still have a couple issues to work out. I would like to come up with a better way to keep the roll together while traveling. And a bag to carry sleepover stuff in........ 
I think I made a good call on using plastic snaps. They are the greatest thing since quilting!!! They are fun to press on. Way more fun than a zipper!!!!! Fun to find different ways to snap a quilt on ya....You can even go "Snuggie" style just by 
unsnapping a few snaps and wearing it upside down. 


This is most excellent fun for the lil's.

I had so much fun making them. I am doing one more for the very envious 11 year old sister. 
She is requesting red and aqua ( love this child!!!). We ordered her fabric on Monday:)
My 28 year old son asked for one also. He also loved the idea of snapping up "snuggie" style and watching football. It would be fun to sew one up to represent his beloved Cowboys.....

Sooooooo....... Tutorial to come!!!
In the mean time here a a couple photos of this project's process .


Embroidery.........


Piecing front to back........


Using the same fabric as the binding to connect......


Quilted inside......


Quilted outside......


Some instagrams


quilts


snap press


ruffling 


Stay tuned......................


Pin It